
Underfloor Heating
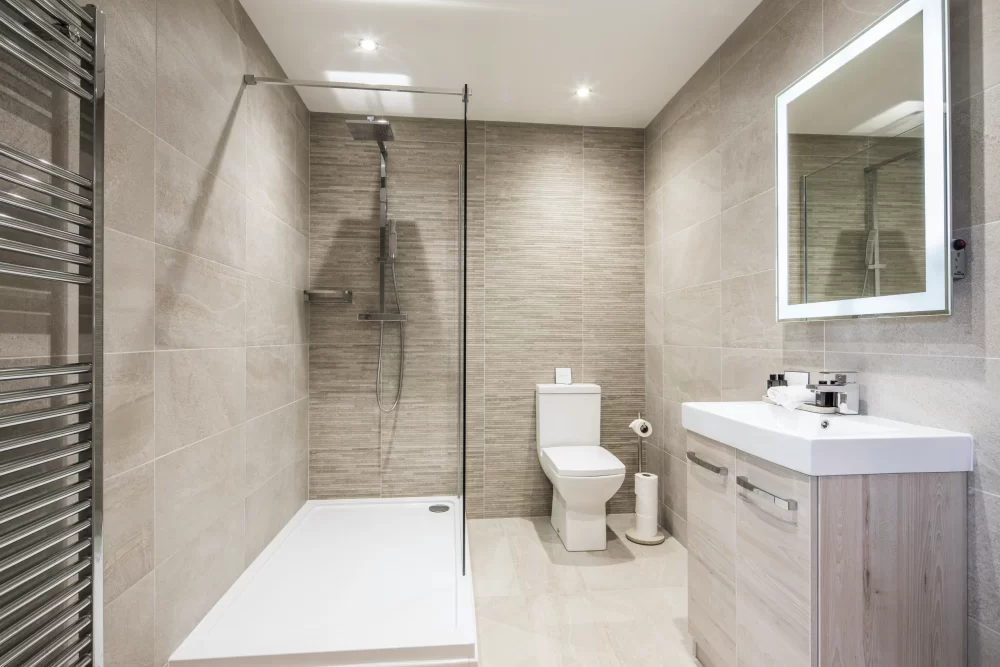
Experience luxury with underfloor heating
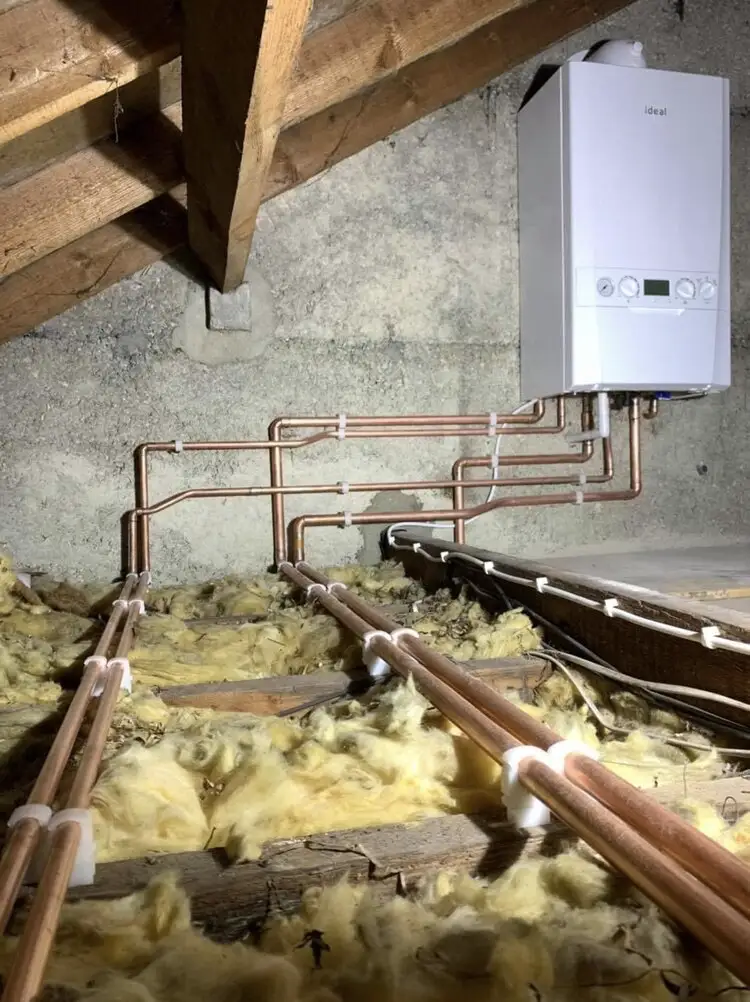
Wet underfloor heating works by distributing warm water from a boiler to a circuit of polythene pipes via a manifold. The heat is controlled and monitored by thermostats which help maintain a consistent temperature throughout the property.
As well as using traditional heat sources, underfloor heating can also be used with renewable energy sources, including solar panels.
What’s more, they heat a room much better than a radiator can. Radiators heat the air above and around them to a much higher temperature. This causes the heat to rise, resulting in the floor being the coolest part of the room. Underfloor heating ensures there are no cold spots by evenly distributing heat - no more huddling by the radiator after a shower!
Hiring a professional vs installing a wet underfloor heating system yourself
Whilst a competent DIY enthusiast can install the heating themselves, it is a technical project and requires a good skill level. It is certainly not a job for a beginner. Seeking professional advice and assistance is strongly encouraged.
It is advisable to discuss the project with an underfloor heating expert as they can help with planning the installation of the system.
It is also highly recommended that you hire a qualified plumber, as they will lay the pipes and connect them to the boiler correctly.
Furthermore, you should use a qualified electrician who holds a Part P or NICEIC certified plumber to ensure the system is correctly connected to your mains electricity and the sensor on your heating controls.
What you need to install a wet underfloor heating system:
Materials
Here are some of the important materials needed to install underfloor heating (UFH):
- Heating manifold: This is the system’s central hub as it distributes warm water to each of the UFH zones. These come in many different sizes, so you will need to find one which is suitable for your home.
- PEX pipes and AL-PEX pipes: They can withstand temperatures of up to 95°C so they can easily deal with the temperatures produced in the system. They are designed and guaranteed to last at least 50 years. This gives the homeowner peace of mind as they are of high quality and built to last.
- Screed: This is a type of mortar commonly used for flooring. It is smooth in texture and is usually made from fine grains of sand. This smoothness makes it ideal for underfloor heating as the final layers such as carpet, laminate, or tiled floors can be placed above it.
These items and other underfloor heating accessories you’ll need to install underfloor heating can be found at PlumbNation.
Tools
If you are embarking on the project alone or assisting a trained professional, you will need these essential plumbing tools at your disposal.
- Pipe cutter: A good quality cutter will cut cleanly through the pipe with a reduced chance of deformation.
- Pipe fixing clips: These are used to secure the pipe when installed on top of the underfloor heating insulation.
- Tape measure: Essential when accurately measuring the distance between your pipes as this will help spread the heat evenly across the particular room.
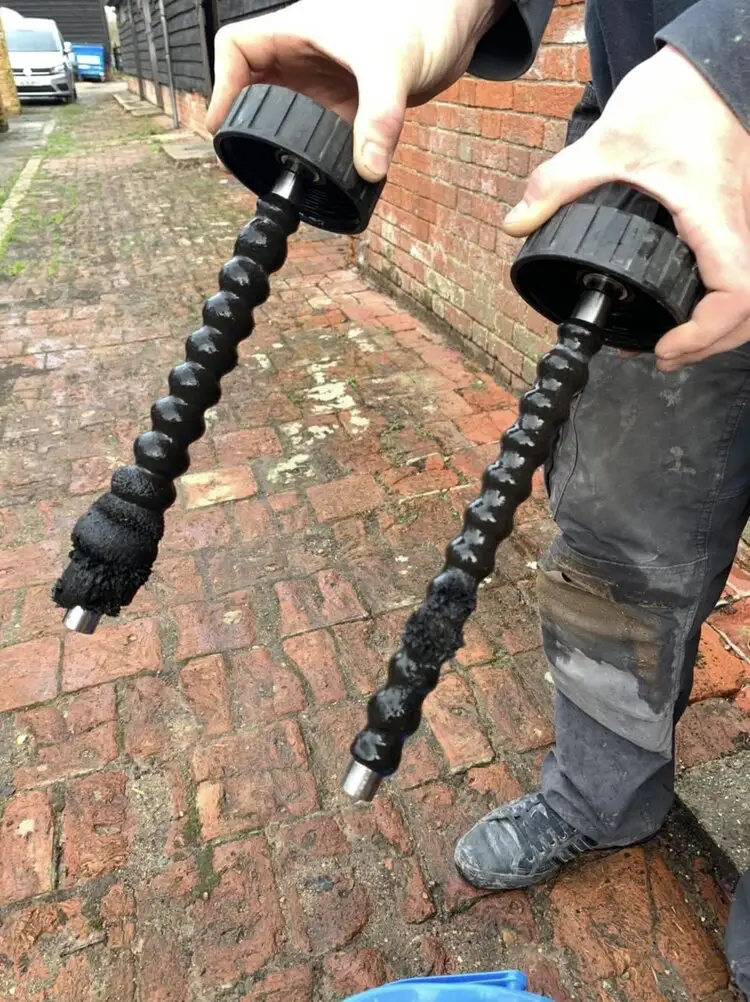
- Pipe re-rounding tool: This is used after the pipework has been cut. It will ensure that the cut end is perfectly spherical and that the pipe will fit perfectly.
What type of insulation do you need for underfloor heating?
Insulation is a very important consideration for underfloor heating. For the most effective result, it should be fitted below the heating pipes to prevent the heat from going downwards. This means the heat will rise and warm the room more effectively.
A recommended material is Expanded Polystrene (EPS) which is both popular and cost-effective. It is made from polystyrene foam beads. These beads have little air pockets that make EPS 90% air, so they are very lightweight. This means it is perfectly safe and very effective.
How to install wet underfloor heating systems:
Step 1: Clean the subfloor
Before you lay down the heating pipes, you are advised to clean the subfloor thoroughly. The reason for this is that, whilst the pipes are very durable, cleaning the floor will rid them of any sharp objects or edges that could potentially damage them.
You should also lay down a damp-proof membrane as this will help prevent dampness from occurring and stop any corrosion.
Step 2: Install floor insulation
Laying floor insulation is vital in making the heating as cost-effective and as beneficial as possible.
Make sure the boards are fitted neatly and that the seams are taped. The heat rises, so only a minimal amount is lost beneath the floor.
Step 3: Install the manifold
You must install the manifold first, as this is what the pipe loop is connected to in a particular room. You will need to find a suitable location and attach it to a strong enough wall to support both the manifold itself and the connecting pipes.
Ensure the underfloor heating pipes are connected to the flow side of the manifold; an arrow will mark this.
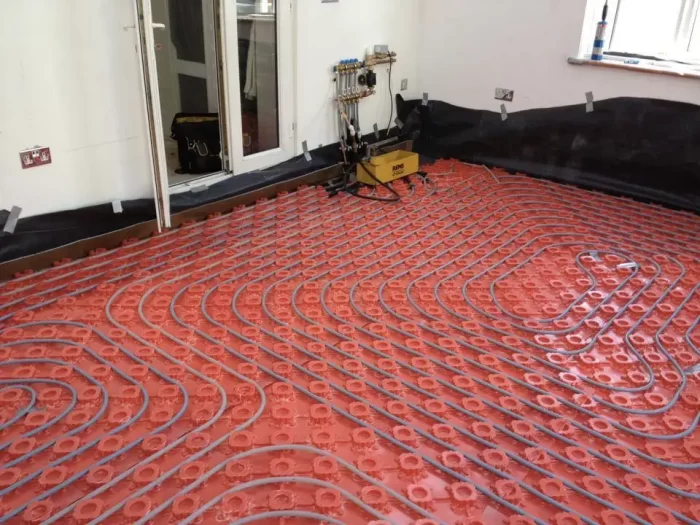
Step 4: Laying the pipe
The pipe can then be fitted by snaking it from the manifold to the furthest part of the room and back again. Ensure that the space is correct between each run of piping. 20cm between each run will suffice. Space between the runs is essential as it allows the heat to be evenly distributed.
For larger rooms, you will need multiple loops of piping to cover the entire surface of the floor. Once the pipe has been laid, make sure it is properly clipped in.
Step 5: Pressure test
Check the system’s pressure to identify any leaks in the manifold, pipework, or joints.
Step 6: Lay the screed
The system needs to be kept under pressure whilst laying the screed and whilst it is drying. This will stop it from becoming too tight around the pipework.
Step 7: Connect the boiler pump and thermostat
Connect the manifold to the boiler pump and double-check that the system is working correctly. Read our guide on underfloor heating boiler requirements if you need further guidance on which boilers work with UFH. Finally, connect the thermostat to the underfloor heating.
Frequently asked questions:
We are Southampton's Verified Heat Geek
We are proud to be Heat Geek Verified. We have undertaken the robust verification process with Heat Geek to give our clients peace of mind and assurance that our expertise and experience can be relied on.


Do you need the help of a heating expert?
Get a free quote along with professional advice